

A big thank you to Pretty Poor Living for sharing this great tutorial of your Ohio necklace!
I have been a bit behind on posting lately because I have been getting 40 crafts ready for the next two 614 Craft Exchanges this weekend! With craft exchanges on the mind I thought it the perfect time to share a tutorial on, what I shared at the last exchange, wire Ohio necklaces.

(Top Right)
I have since seen this bad boys around from $30-$50 each. But when you make them yourself they are under $2.00!! Score! And they take less than 30 mins. Girl you got this!
Here are the step by step instructions. The photos will be an extra help to the directions in this tutorial. Hope you enjoy!

You will need:
6 inches of 20 gage wire (kids craft area of Walmart)
Small Round Nose Pliers (Walmart)
Wire Cutters (Walmart)
Paper
Masking Tape
Matching Chain with Clasp (I took mine off an old necklace)
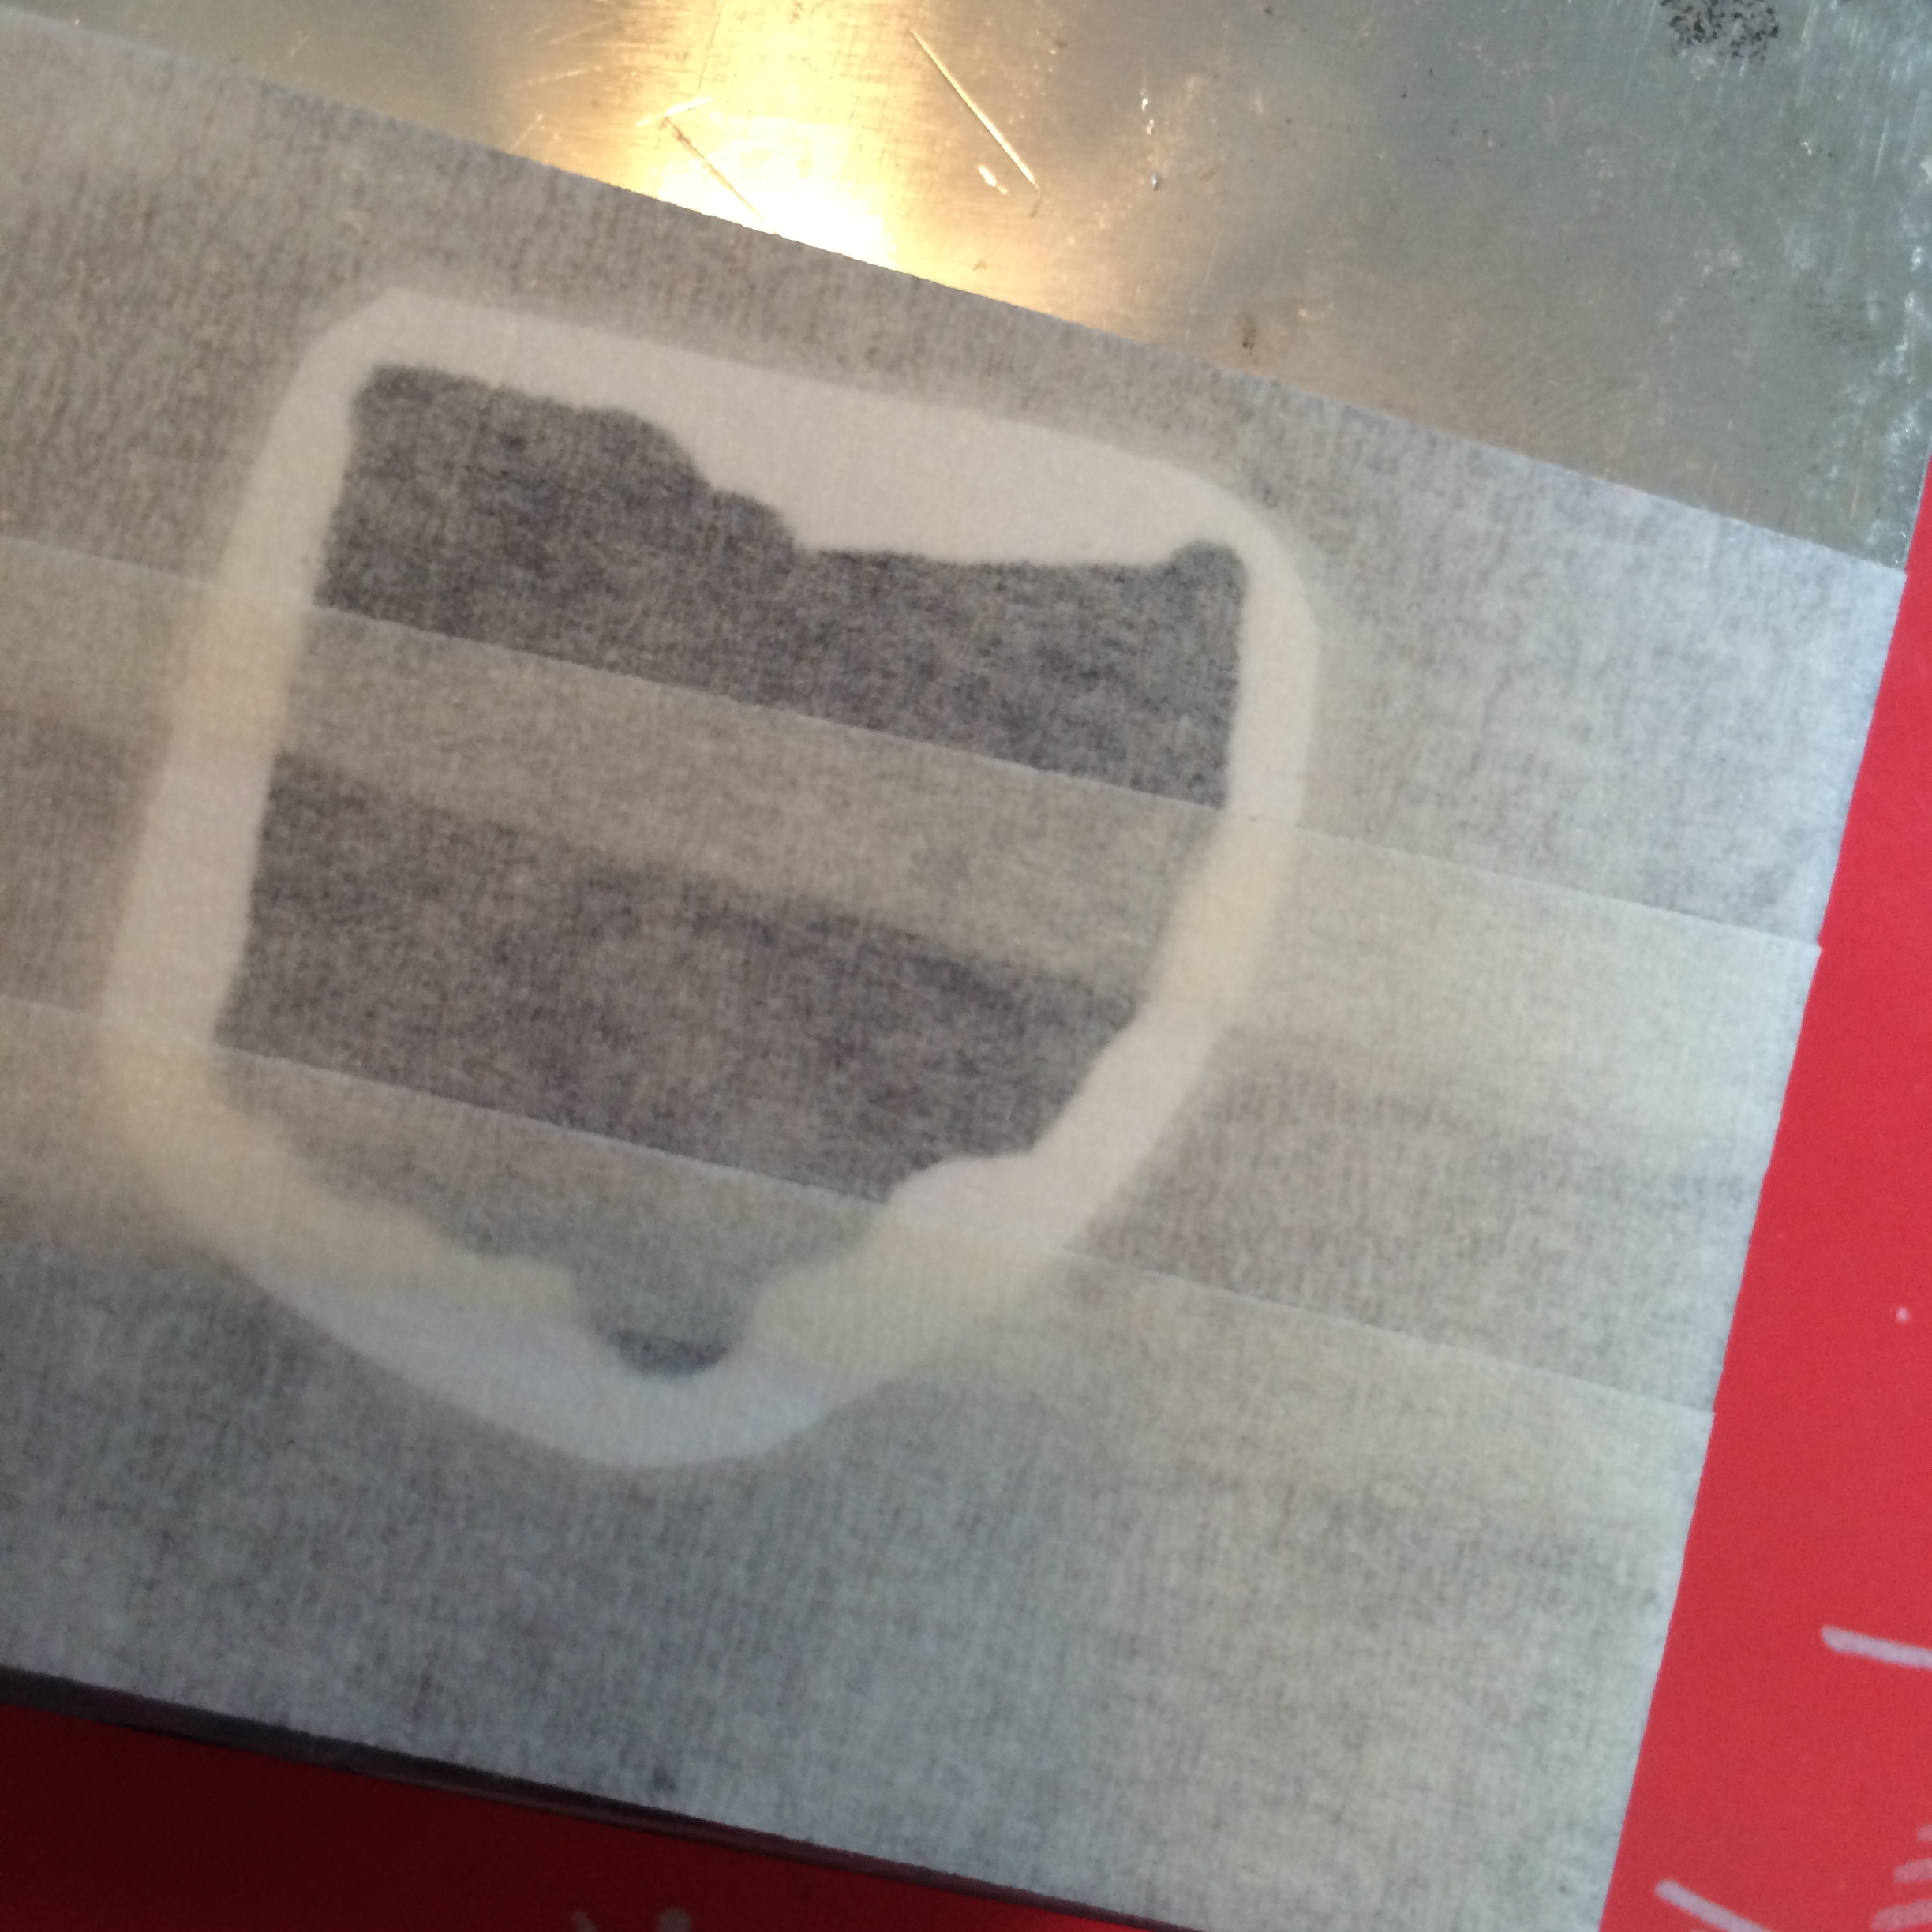
First do a simple google image search for an “Ohio silhouette.” Then zoom in and out on the image until it is the desired size for your pendent on the computer screen. (Mine is about an inch and a half.) Using your computer screen as a light box, place a piece of paper over the screen and lightly trace the Ohio shape onto your paper.
For a computer light box walk through click: here.
Next roughly cut around the Ohio. With masking tape, tape the Ohio paper to your work table. If you are having a hard time seeing your image trace over it directly on the tape with a ballpoint pen. (In the photo the image is taped to a block but it all works the same:)
Next take your wire and make a “large” circle around your image. This is an easy way to measure an easy amount of wire to work with. Using wire cutters, cut off the execs wire where the ends come together.

After that, leaving a one inch “tail” at the end of your wire, make a small circle with the round nose pliers. This will be where your chain runs through so make it large enough for the clap to fit through the hole.

Now, with the pliers squeezing the wire in one hand, use the other hand to grab the tail end of the wire and twist the wire twice around the other longer wire end.

After that, lay your wire circle down on your taped image so that the wire circle is about a centimeter above the top center of the Ohio. With pliers make a bend in the wire where it meets the Ohio image.

Now tape down you wire circle securely onto your work surface. Using pliers carefully bend the remaining wire like your tracing the Ohio, taping wire down every inch or so.

Bend. Trace. Tape.

When you come all the way around your image, leave a bit of extra wire so it touches the end of your circle. Cut away excess.


Now untape the wire Ohio and using pliers and your fingers twist the extra wire around the straight wire under circle connecting the two pieces together. Keep twisting until you reach the bottom of the circle. Clip off all extra wire.


With wire cutters, clip off all extra wire ends. With your pliers grab hold of your circle and twist to the left so the circle is on its side. This makes the charm wear flat.
 Now just thread your chain through the circle and ta dah! Your ready to wear your awesome new necklace.
 Happy wearing!
Hugs and Stiches,
Chelsey